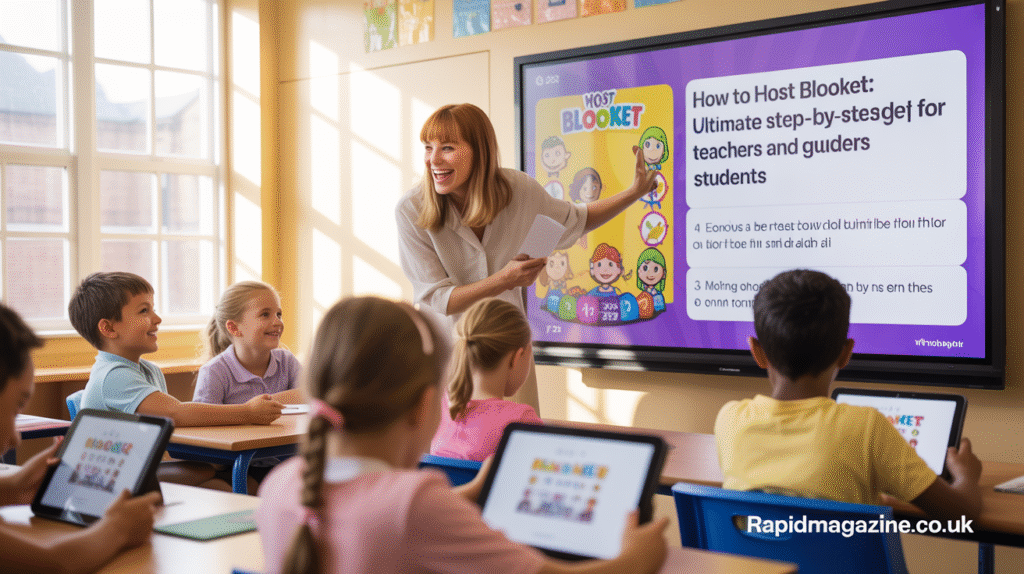
Have you ever wanted to make learning more exciting? If so, it’s time to learn how to host Blooket! Blooket is an online game platform that turns lessons into fun, fast-paced quizzes. Whether you’re a teacher, student, or parent, hosting a Blooket game can make studying feel like playtime.
In this guide, you’ll learn everything about hosting a Blooket—from setting up your first game to keeping players engaged. Don’t worry if you’ve never used Blooket before. I’ll walk you through it in simple, easy steps. By the end, you’ll know exactly how to host Blooket like a pro!
What Is Blooket?

Blooket is an interactive learning tool that blends education with gaming. It allows teachers and students to play quiz-based games in real time. Players answer questions to earn points, power-ups, and rewards while competing against others.
You can play Booklet on any device with an internet connection—computers, tablets, or smartphones. The platform features colorful characters called “Blooks” that make every game feel like an adventure. Teachers love it because it keeps students excited about learning.
Hosting Blooket means you’re the game leader. You choose the quiz, start the game, and watch the fun unfold. With just a few clicks, you can make a lively classroom that encourages teamwork and participation.
Why Should You Host Blooket?
Hosting a Blooket game offers tons of benefits for both teachers and students. First, it transforms boring review sessions into thrilling competitions. Instead of sitting quietly and reading notes, students jump into games that help them learn faster.
Second, it’s flexible. You can use Blooket for any subject—math, science, reading, or history. Teachers can create custom question sets or use ones shared by other educators.
Third, hosting Blooket promotes teamwork and active learning. Depending on the game mode you select, students can work individually or in groups. It also builds problem-solving and quick-thinking skills.
Most importantly, Blooket helps teachers track progress. After hosting, you can view reports to see who answered correctly and which topics need review. Hosting Blooket is not just fun—it’s also smart teaching!
Step 1: Create a Blooket Account

Before you can host Blooket, you need to create an account. Don’t worry—it’s simple and free!
- Go to www.blooket.com.
- In the corner to the upper right, select “Sign Up.”
- You can sign up as a student or a teacher.
- You can register or sign in with Google. or an email address.
Once your account is ready, you’ll be taken to your dashboard. This is where you can create, host, or join games. Hosting Blooket doesn’t require special software—everything works directly in your browser.
Step 2: Explore or Create a Question Set
The next step before you host Blooket is choosing your questions. You can do this in two ways:
Option 1: Use a Public Set
Blooket has thousands of public question sets created by teachers worldwide. To find one:
- Click Discover on your dashboard.
- Type in a topic (like “Solar System” or “Times Tables”).
- Choose a set that fits your lesson.
Option 2: Create Your Own Set
If you want something personalized, you can create your own.
- Go to Create on your dashboard.
- Enter a title, description, and choose a cover image.
- Add your questions and answers.
When finished, click Save Set. Now you’re ready to use it to host Blooket for your class!
Step 3: Choose a Game Mode

One of the best parts of hosting Blooket is choosing the game mode. Each mode has a different style and challenge level.
Some popular modes include:
- Gold Quest: Players earn and steal gold by answering correctly.
- Tower Defense: Players defend their towers with smart answers.
- Café: Players serve customers by answering quickly.
- Factory: A fun, strategy-based mode where students build factories for points.
- Battle Royale: Students face off head-to-head in quiz battles.
To start, pick a mode that matches your classroom’s mood. For example, “Café” is great for calm sessions, while “Battle Royale” is perfect for energetic students.
Step 4: How to Host Blooket Live
Ready to go live? Here’s how to host Blooket in real time:
- Open the question set you want to use.
- Click Host.
- Choose your game mode.
- Adjust settings like time limit, random names, or power-ups.
- Click Host Now to start.
Blooket will generate a Game ID code. Share this code with your players—they’ll enter it at play.blooket.com to join.
Once everyone joins, click Start Game, and the fun begins! You can monitor the leaderboard and cheer on your players as they compete.
Step 5: Hosting Homework Games
Sometimes you can’t play live, and that’s okay! Blooket lets you host Homework Mode games too.
Here’s how:
- Select your question set.
- Click Host and choose HW Mode.
- Set a due date and time.
- Share the link or code with your students.
Now, students can play anytime before the deadline. You can view their results later. Homework hosting is perfect for review assignments or at-home practice.
Step 6: Tracking Results and Progress
After you host Blooket, you’ll want to see how your players did. Blooket makes this easy.
- Go to your Dashboard.
- Click History or Reports.
- Choose the game session you hosted.
You’ll see details like player names, scores, and which questions they got right or wrong. This helps teachers know what topics to review again.
By tracking progress, you can tailor future games for better results. Hosting Blooket isn’t just about fun—it’s about smarter learning!
Tips for Hosting a Successful Blooket Game
Here are some tips to make your Blooket sessions even better:
- Set clear rules. Explain how points and power-ups work.
- Keep it short. Aim for 10–15 minutes to hold attention.
- Mix it up. Try different modes each week.
- Use teams. Encourage collaboration for big classes.
- Celebrate winners. Give small prizes or praise.
Most importantly, enjoy it! Hosting Blooket should be a fun, low-stress way to learn.
Classroom Ideas for Hosting Blooket
There are endless creative ways to use Blooket in class. Here are some ideas:
- End-of-unit reviews: Host Blooket before tests to refresh key topics.
- Morning warm-ups: Start class with a 5-minute quiz to boost focus.
- Team competitions: Divide the class and let teams battle.
- Subject-specific games: Create sets for spelling, vocabulary, or math drills.
Hosting Blooket helps students participate, laugh, and learn together. It brings positive energy to any classroom!
Common Problems When Hosting Blooket (and Fixes!)
Even the best hosts run into small hiccups. Here’s how to solve them:
- Game lagging? Have fewer players or ensure a strong internet connection.
- Students can’t join? Check the Game ID or restart the session.
- Wrong answers marked correct? Double-check your question set.
- Too noisy? Make use of calm modes like “Café” and “Tower Defense.”
Remember, practice makes perfect. The more you host Blooket games, the smoother they’ll go!
Hosting Blooket Remotely
Hosting Blooket online is just as easy as hosting in person. You can use Zoom, Google Meet, or Microsoft Teams.
- Share your screen so students can see the questions.
- Give them the Game ID.
- Watch as they join from home!
It’s a great way to keep remote learners engaged. Even when you can’t meet in the classroom, you can still bring everyone together through Blooket.
How Hosting Blooket Builds Confidence
Hosting Blooket does more than teach facts—it builds confidence. Students feel proud when they answer correctly. Teachers gain confidence in using technology to enhance lessons.
Games make learning safe and fun. There’s no fear of failure, only chances to improve. When you host Blooket regularly, your students become more active, curious, and motivated learners.
The Future of Learning with Blooket
Blooket continues to grow with new updates and features. Teachers are using it to teach not only quizzes but also storytelling, problem-solving, and teamwork.
As digital learning becomes more common, tools like Blooket will play an even bigger role. Knowing how to host Blooket gives you a head start in creating engaging, future-ready classrooms.
Frequently Asked Questions (FAQs)
1. What does “host Blooket” mean?
To host Blooket means to start and manage a game session. You choose the question set, pick a game mode, and invite players to join using a Game ID.
2. Do I need to pay to host Blooket?
No, hosting Blooket is free. However, there’s a Plus plan that adds extra features like advanced reports and custom options.
3. Can students host Blooket games?
Yes! Students can host games too, especially for practice or a fun review. Teachers can encourage them to make their own question sets.
4. How many people can participate in a Blooket game?
Most modes allow up to 60 players for free accounts. Premium users can host even larger sessions.
5. Can I host Blooket on a phone or tablet?
Absolutely! Blooket can be hosted and played on any device with an internet connection. You can use it easily on your phone, tablet, or computer.
6. Is hosting Blooket safe for kids?
Yes, Blooket is designed for educational use. Teachers can control access, monitor games, and choose safe, school-friendly content.
Conclusion: Make Learning Fun by Hosting Blooket Today!
Now that you know how to host Blooket, you’re ready to bring joy into your classroom or study sessions. Hosting is simple, fun, and rewarding. It makes lessons come alive, helps students learn better, and builds teamwork.
Whether you’re reviewing for a test or introducing a new topic, hosting a Blooket game is the perfect way to keep everyone engaged. So don’t wait—sign up, pick your game, and host your first Blooket today. Your students (and you) will love it!


